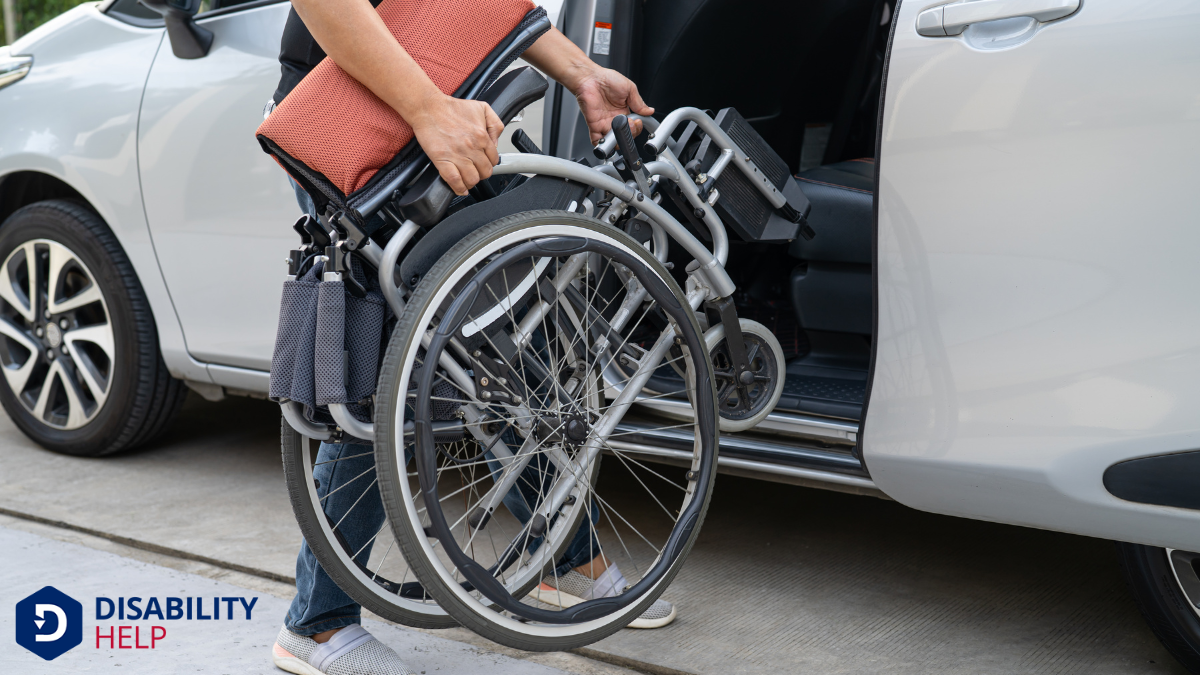
When it comes to scheduling a wheelchair-accessible ride with Uber or Lyft, many of us may wonder about the steps involved. Fortunately, both apps offer options tailored for our specific needs, guaranteeing a comfortable journey. We'll explore how to navigate these apps effectively, from selecting the right vehicle to confirming our ride request. Let's plunge into this topic to guarantee a seamless experience for all users requiring accessibilityThe design of products, devices, services, or environments to be usable by people with disabilities.... features.
Key Takeaways
- Open the Uber or Lyft app and log in for access to ride services.
- Enter your pickup location and destination to view available ride options.
- Select "Uber WAV" or the wheelchair icon for Lyft to request a WAV.
- Confirm ride details and book your wheelchair-accessible vehicle.
- Check driver arrival updates and communicate any specific needs.
Understanding Wheelchair-Accessible Vehicle Options
When exploring wheelchair-accessible vehicle options, it's essential to understand the different services Uber and Lyft offer for riders with mobility needs.
Both platforms provide wheelchair-accessible vehicles (WAVs) to help us travel more conveniently. Uber offers the Uber WAV service, which connects us with drivers trained in assisting passengers with disabilities.
Lyft provides a similar service called Lyft Access, ensuring riders can find WAVs through their app.
Using these services, we can book rides designed specifically for accessibility, ensuring easy entry and exit.
It's important to check if these options are available in our area, as they might differ based on city or region.
Checking Availability of WAV Services in Your Areas

After understanding the various wheelchair-accessible options Uber and Lyft offer, it's time to see if these services are available in our area.
Let's start by opening the Uber or Lyft app on our phones. We should enter our pickup location and destination. If WAV services are available, the app will display them among the ride options.
It's crucial to recognize that availability can vary depending on the city or region we're in.
To verify, we can also visit the Uber or Lyft websites and check their WAV service coverage maps or city listings.
It's helpful to ask local disability organizations or community groups, as they often have up-to-date information about accessible transport options.
This guarantees we're well-prepared for our journey.
Step-By-Step Guide to Scheduling a WAV With Uber
Let's dive right into scheduling a WAV with Uber. First, open the Uber app on our smartphone. If we haven't already, let's verify our location services are on.
Next, enter our destination in the "Where to?" box. Once that's done, swipe up to reveal ride options and select "Uber WAV" from the list. It's important to note that availability might vary by area.
After selecting Uber WAV, confirm our pickup location. Double-check the details to make sure everything's correct, then tap "Confirm Uber WAV."
We'll be matched with a driver trained to assist with wheelchair accessibility. We'll receive details about our driver and vehicle, along with an estimated time of arrival.
How to Book a Wheelchair-Accessible Ride With Lyft
Booking a wheelchair-accessible ride with Lyft is straightforward, especially if you know the steps.
We can easily navigate through Lyft's app to guarantee our accessibility needs are met. Here's how we can do it:
- Open the Lyft App: Start by launching the Lyft app on your smartphone. Make sure we're logged in to access all features.
- Set Pickup and Destination: Enter our pickup location and destination. This helps the app find the nearest available vehicle.
- Select the "Wheelchair" Option: In the ride type options, we choose the wheelchair icon, guaranteeing we request a vehicle equipped for wheelchair access.
- Confirm the Ride: Review ride details and confirm. We'll receive updates on the driver's arrival time.
Tips for a Smooth and Comfortable Ride Experience

Guaranteeing a smooth and comfortable ride experience requires a bit of preparation and communication.
First, let's double-check our ride details before confirming. It's important we verify the pickup and drop-off locations to avoid delays.
Once booked, we should keep our phone handy to communicate with the driver. This helps address any accessibility needs or provide additional directions if necessary.
When the vehicle arrives, let's take a moment to verify the ramp or lift functions properly.
It's also helpful to discuss any specific seating or equipment requirements with the driver.
Finally, we can provide feedback after the ride to help improve future experiences.
Conclusion
In summary, we have you taken care of when it comes to scheduling a wheelchair-accessible ride with Uber or Lyft. By understanding your options and following our step-by-step guide, you'll be on your way in no time. Remember to check WAV availability in your area and verify the ramp or lift is functional on arrival. With a little preparation, you can enjoy a smooth, comfortable ride experience. We're here to help make your journey as seamless as possible!


