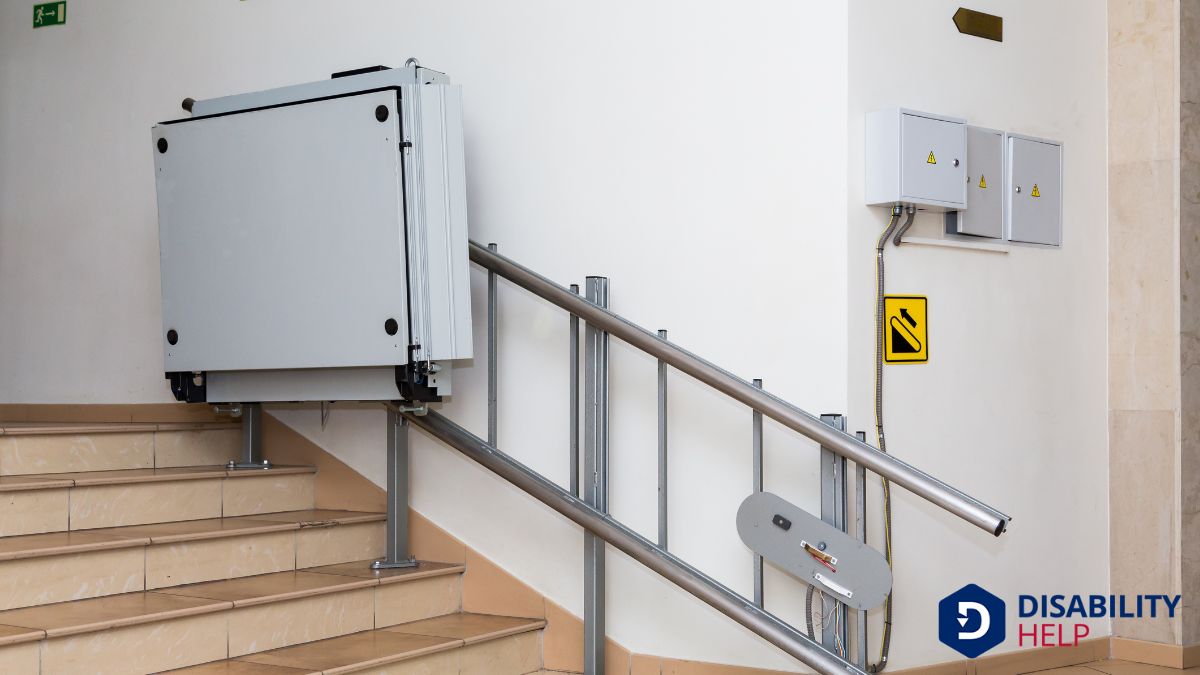
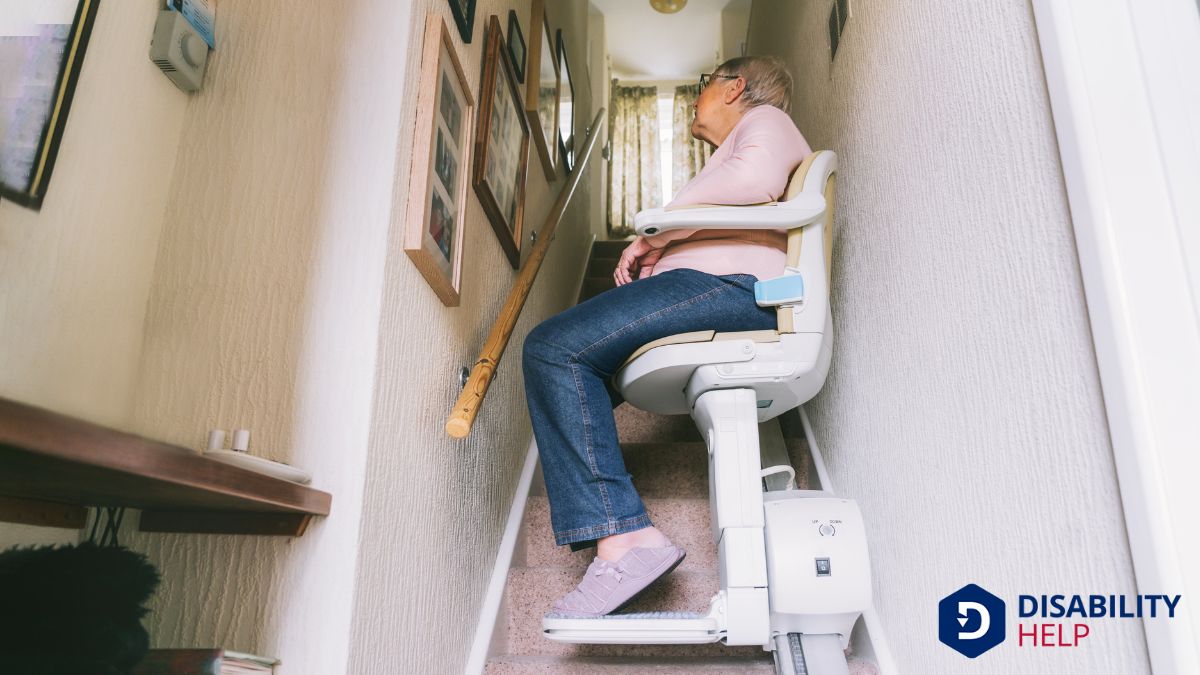
Installing a stair lift ourselves might seem like a cost-effective solution, but it’s not without its challenges. We need to evaluate the complexity of our staircase, the tools required, and our comfort with electrical work. While the prospect of saving on labor costs is enticing, the risk of errors or safety issues can’t be ignored. Are we prepared to tackle this project, or is professional assistance the wiser choice for ensuring safety and compliance?
Key Takeaways
- Measure staircase dimensions accurately to ensure the stair lift fits and operates properly.
- Confirm the staircase's structural integrity and minimum width of 28 inches for secure installation.
- Use essential tools and safety gear, and follow the manual for model-specific instructions.
- DIY installation risks costly mistakes; professional installation offers expertise and warranty validation.
- Complex staircases may necessitate professional assistance for safe and efficient installation.
Understanding the Basics of Stair Lifts

Stair lifts are essential devices that enhance accessibilityThe design of products, devices, services, or environments to be usable by people with disabilities.... in homes with multiple levels. They help us safely navigate stairs, providing independence and peace of mind.
When we consider installing one ourselves, it’s vital to understand how they work. Stair lifts consist of a motorized chair or platform attached to a rail. This rail is secured along the staircase, allowing the lift to move smoothly up and down.
The lift is powered by electricity and typically includes a backup battery for uninterrupted operation during power outages. Controls are usually located on the armrest or via a remote, making them user-friendly.
Understanding these basics helps us appreciate their function and assess whether we can handle the installation process or need professional assistance.
Evaluating Your Staircase for Compatibility
Let's start by examining the type of staircase we have, as certain stair lifts work better with straight or curved designs.
We also need to measure the available space accurately to guarantee the lift fits comfortably without obstructing regular use.
Finally, let's assess the staircase's weight and support capacity to make certain it can handle the lift and its occupants safely.
Staircase Type Requirements
Before diving into the installation process, it’s vital to assess whether your staircase is suitable for a stair lift.
Let’s examine the type of staircase we have. Is it straight, or does it have curves and landings? Straight staircases are generally simpler and more straightforward for stair lift installation. Curved staircases, however, require a custom track, which can complicate the DIY approach and might necessitate professional help.
The width of our staircase is important too. We need to confirm there's enough space for the stair lift to fit comfortably without obstructing regular use.
Finally, consider the staircase’s structural integrity. It should be sturdy enough to support the stair lift’s rail and the weight of users. Confirming these requirements can lead to a successful installation.
Measurement and Space Considerations
To guarantee a successful stair lift installation, we must meticulously measure and evaluate our staircase for compatibility.
First, let's measure the total length of our stairs from the top landing to the bottom. It’s essential to include any curves or turns.
Next, we’ll assess the width of our staircase. A minimum width of 28 inches is typically required to accommodate most stair lifts.
We should also measure the height and depth of each step to confirm a smooth ride.
Don’t forget to check for obstructions like handrails or light fixtures that might disrupt installation.
Finally, let’s confirm there’s enough clearance at the top and bottom landings for safe entry and exit.
With these measurements, we'll determine the best-fit stair lift for our home.
Weight and Support Capacity
Evaluating the weight and support capacity of our staircase is essential to guarantee a safe and stable stair lift installation.
We need to ascertain that our staircase can handle the weight of the stair lift and its potential users. First, let's consult the stair lift's specifications, which detail the weight the unit can support.
Then, we should assess the strength of our staircase structure, including the treads and risers, to confirm they can bear the added load.
It's vital to remember that improper evaluation can lead to safety risks, like structural damage or accidents.
If we're unsure about the staircase's capability, consulting a structural engineer or professional installer can provide clarity.
Prioritizing these assessments helps us secure a successful, secure installation.
Essential Tools and Equipment Required
Now that we've assessed our staircase's compatibility, let's gather the tools and safety gear needed for the job.
We'll need essential installation tools like drills, screwdrivers, and measuring tape, along with a solid checklist of safety gear such as gloves and goggles.
Necessary Installation Tools
Equipping ourselves with the right tools is essential for a successful stair lift installation.
First, let's confirm we've a power drill with various bits, as we'll need it to secure the track to the stairs. A set of screwdrivers, both flathead and Phillips, will help us tighten or adjust screws as needed.
We'll also need a tape measure to guarantee precise measurements and alignment. A level is vital to make sure the rail is perfectly horizontal, preventing any operational issues later on.
Additionally, having a socket wrench set on hand will aid in tightening bolts effectively.
Finally, a pencil for marking measurements and a stud finder to locate secure points in the wall will make our job much smoother.
Safety Gear Checklist
A crucial part of our stair lift installation is guaranteeing we're equipped with the right safety gear.
Safety isn't something we should compromise on, and having the proper equipment will keep us protected during the installation process.
Let's prioritize our well-being by checking off these essential items from our list before we begin.
- Safety glasses: Protect our eyes from potential debris or accidental contact with tools.
- Work gloves: Confirm we maintain a firm grip on tools while safeguarding our hands from cuts and abrasions.
- Hard hat: Shield our heads from any unexpected bumps or falling objects.
Equipped with these items, we can confidently proceed with our project, knowing we've taken steps to protect ourselves.
Safety first guarantees a successful installation.
Step-by-Step Guide to DIY Installation
Before diving into the installation, it's essential that we gather all the necessary tools and components to guarantee a smooth process.
We'll need a power drill, screwdriver, measuring tape, and level, along with the stair lift parts provided in the kit.
First, let's measure the staircase to verify the track fits perfectly. Once measured, we'll securely attach the track to the stairs using the brackets provided.
Make sure each section aligns correctly. Next, let's connect the motor unit to the track, making sure it's firmly in place.
We'll then install the chair, checking that it moves smoothly along the track. Finally, let's connect the electrical components, following the manual closely.
Test the lift to confirm everything operates safely and efficiently.
Common Installation Mistakes to Avoid
While installing a stair lift ourselves can be rewarding, it's important to be aware of common mistakes that can lead to issues down the line.
Let's make sure everything runs smoothly by avoiding these pitfalls:
- Ignoring weight capacity: We must check the lift's specifications to confirm it can support the intended user’s weight. Overloading can cause mechanical failure.
- Incorrect measurements: Accurate measurements of our staircase are significant. Misjudging lengths or angles could lead to poor alignment, causing operational problems or safety concerns.
- Skipping the manual: It might be tempting to bypass detailed instructions, but the manual often contains crucial information specific to our model.
Safety Considerations and Testing
Verifying the stair lift operates safely is just as important as the installation itself, so we must conduct thorough testing and adhere to vital safety considerations.
First, let’s confirm all components are securely fastened and aligned. We’ll check the rail for stability and make certain the lift travels smoothly along it.
Next, test the seatbelt and ensure the safety sensors function properly, stopping the lift if there’s an obstruction. It’s essential to verify the lift’s speed and braking system, making sure they’re responsive.
Conduct a test run to confirm everything operates seamlessly.
Finally, make sure we've easy access to the emergency stop and manual lowering features. This attention to detail guarantees a safe and reliable stair lift experience.
Cost Comparison: DIY vs. Professional Installation
When considering the cost of installing a stair lift, it's crucial to weigh the benefits of a DIY approach against hiring a professional.
Doing it ourselves might seem cost-effective, but let's explore deeper. DIY installation initially appears cheaper due to the absence of labor costs. However, we must consider potential pitfalls:
- Hidden Costs: Mistakes during installation could lead to repairs or even damage.
- Time and Effort: DIY requires significant time investment and effort to guarantee the installation is safe and correct.
- Tool Expenses: Specialized tools may be necessary, adding to the overall cost.
Hiring a professional, though seemingly pricier, often provides peace of mind.
Ultimately, evaluating our budget and skills will guide us in making the best decision for our needs.
When to Seek Professional Assistance

How do we determine it’s time to call in the professionals? First, let’s assess our skills honestly. If we’re not comfortable with electrical work or precise measurements, it’s a sign we need help.
Stair lifts must be installed accurately to guarantee safety. Complex staircases, like those with curves or landings, often require expert handling.
We should also consider our available time. If we’re balancing busy schedules, professional assistance can save us significant time and stress.
Let's not forget the peace of mind that comes with knowing it’s done right. Finally, check the warranty. Some manufacturers require professional installation to validate it.
Conclusion
In summary, while we can install a stair lift ourselves, it requires careful planning and precise execution. It's essential to understand the intricacies of our staircase and to use the right tools. We've outlined the steps and highlighted common pitfalls to avoid. However, if at any point we feel uncertain, it's wise to call in professionals. This guarantees our safety and peace of mind, potentially saving us from costly errors and granting us warranty protection.


